Begin with the decision and the observable target
The practical question is: Which observable land-cover changes alter the island’s planning evidence base? Work with island planning units as the reporting unit and define the observation period before choosing an image or algorithm. Repeated imagery can organize settlement, vegetation, exposed shoreline and water observations within a consistent island geography.
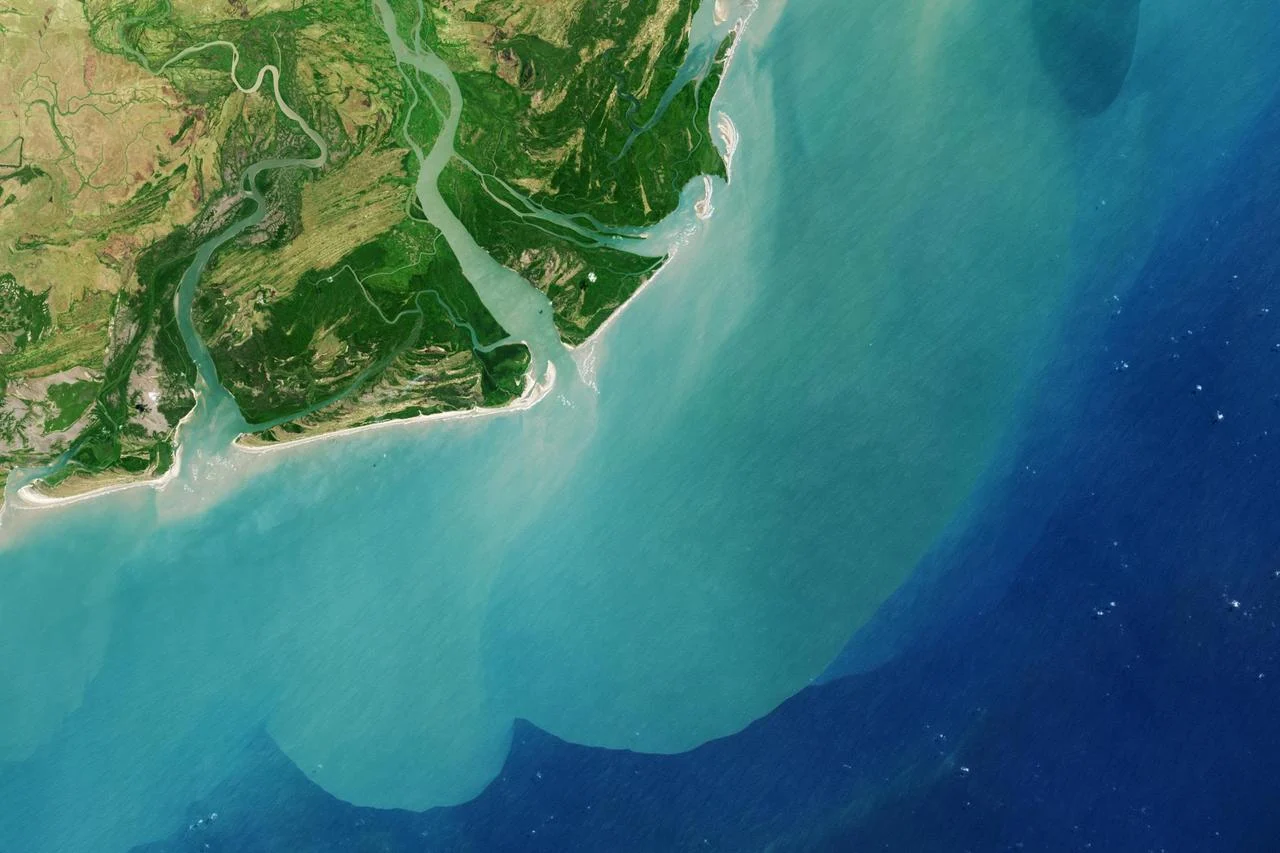
Coastal landscapes change within hours as tides, waves, currents and winds alter the visible surface. Record these conditions when they influence the target. The apparent boundary between land and water is an observation proxy, while habitat extent, administrative coastline and engineering shoreline may require different definitions. Shallow water introduces another complication because the sensor may receive a mixture of water-column and seabed signals. A change in that mixture can reflect depth or clarity rather than ecological change. Compare observations whose environmental context is suitable, and retain incompatible dates for context instead of forcing them into one trend. Offshore products also have spatial support that may be too broad for a small estuary or reef. Preserve this limit in GIS summaries. Coastal mapping becomes more useful when satellite evidence is connected to tide records, habitat observations and local operational histories, with each source still identifiable in the final dataset.
Select observations with suitable physical and temporal support
Optical surface reflectance is a useful starting point for many land-cover questions because it reduces some atmospheric effects before comparison. Landsat and Sentinel-2 are common candidates, but select an actual product whose bands, quality information and spatial support fit the target. Apply the documented scale and offset before interpreting values, and mask cloud, cirrus, shadow and other invalid observations according to the product guidance. A resampled raster does not gain new physical detail: placing a coarser band on a finer grid changes its sampling, not the instrument resolution. Check image alignment near narrow boundaries and use an appropriate common grid for multitemporal work. Review whether the available clear observations cover the biologically or operationally important period. A visually attractive composite can combine dates that do not describe one real state, so retain the contributing acquisition information when timing affects the decision.
Build a compact data manifest before processing. Record the area of interest, acquisition times, product identifiers, processing versions, bands or variables, units, scale factors and quality criteria. Check the actual usable coverage over the target rather than relying only on scene-wide quality percentages. Preserve the original masks and define how missing values propagate into derived layers. If several dates or sensors are combined, keep their support information available in the project. These details make it possible to repeat a measurement and to explain why a later run changes after a product revision. They also help a colleague decide whether an apparent disagreement comes from the environment, the observation conditions or a processing choice.
Build an analysis rule that can be reviewed
Use scale-appropriate classes, preserve shoreline uncertainty and integrate independently sourced infrastructure and exposure data.
Landscape analysis begins with transparent spatial rules. Define the network, buffer, neighborhood or connectivity criterion before comparing alternatives. Verify coordinate references and use distance or area calculations appropriate to the geography. A weighted score is a model of preferences and assumptions, not a directly observed property of the landscape. Retain each input factor and compare plausible alternative weights or connection distances. Inspect bottlenecks and edge effects that may drive the ranking. Where a drainage, access or ecological connection is inferred, distinguish it from an independently confirmed link. Combine the result with local knowledge and field observations before action. A useful planning output presents candidate scenarios and their evidence so users can understand why a location changes rank when assumptions change.
Start with a small, independently reviewed subset before applying the rule across the full geography. Inspect inputs and intermediate layers at both overview and local scales, checking that units, masks and coordinate alignment behave as intended. Keep a named version of the analysis configuration and retain a concise explanation of every consequential threshold. When the workflow moves to another region or season, revisit those assumptions instead of assuming that successful execution proves scientific transfer. A repeatable pipeline is valuable because its choices can be inspected and revised, not because automation makes the interpretation automatically correct.
Interpret the result without hiding alternative explanations
Tidal edges and coarse mixed pixels disproportionately affect small islands. Land-cover change is not a complete measure of resilience.
Keep the target interpretation distinct from the evidence used to support it. For island planning units, ask whether the observed pattern persists under a reasonable alternative baseline, quality mask or aggregation. Review apparent successes and plausible counterexamples together. If competing explanations cannot be separated with the available observations, record the finding as a candidate for investigation. This preserves useful spatial information while showing exactly which part of the conclusion still depends on independent evidence. The next observation should be chosen to resolve that uncertainty, rather than simply to reproduce a similar-looking map.
Validate with independent evidence before scaling
Review local land-use records and representative community-confirmed observations.
Check the geometry and assumptions that drive the spatial conclusion. Validate a representative sample of boundaries, links and asset positions with independent sources appropriate to their scale. Compare outputs under plausible changes to buffers, thresholds or network rules, then identify locations whose classification is sensitive. Retain unresolved links and boundary cases instead of silently choosing the alternative that produces a cleaner map. Field observations should test the proposed physical or operational relationship, such as an actual drainage connection or a usable public entrance. If the result is a planning scenario, evaluate whether its criteria match the decision-makers’ needs without claiming the ranking is an observed truth. Keep the independently verified attributes distinguishable from the modeled spatial relationships in the delivered dataset.
Deliver a usable GIS evidence layer
Deliver change maps and explicit information gaps for participatory planning.
For GIS delivery, retain stable feature identifiers, source observation dates, the physical variable, units, valid support area, uncertainty and review status. Use a suitable coordinate reference for any area or distance calculation and document the transformation when joining outside layers. Separate measured or observed attributes from modeled and field-confirmed attributes so users can update one evidence type without overwriting the others. Include an unknown or unsupported state in summaries and preserve the denominator used for percentages. A map legend, concise data dictionary and accessible source links make the result useful to colleagues who did not run the analysis. Export formats should match the actual downstream workflow, with attribute encoding and geometry checked before handoff.
Turn the method into a practical iT Sensing workflow
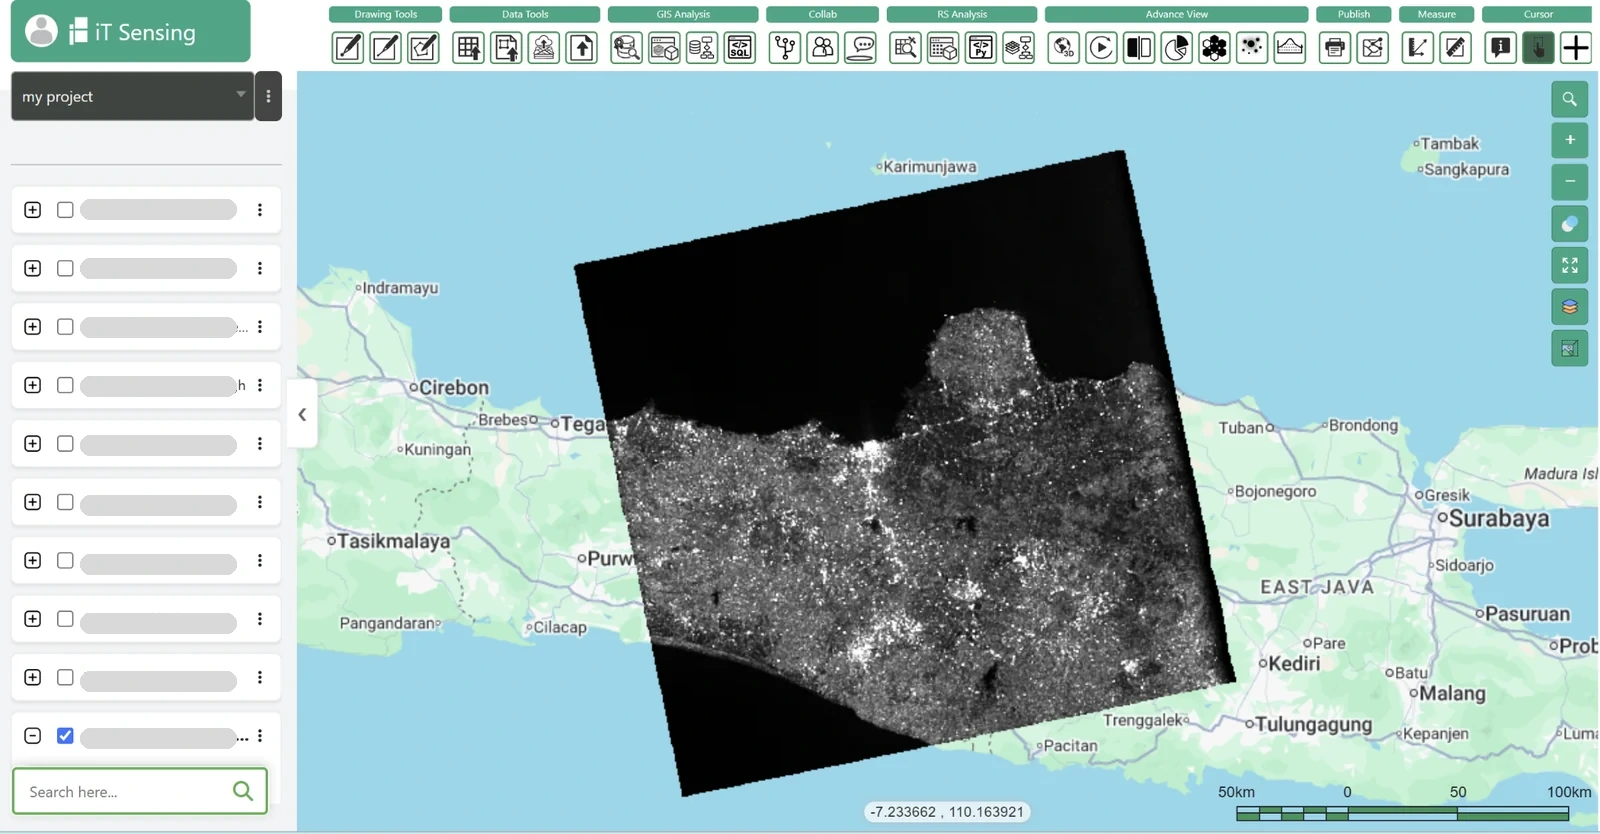
iT Sensing brings satellite discovery, raster analysis, machine learning, GeoAI, visual model workflows and Python experimentation into a cloud remote sensing workspace. Use its documented tools to organize the inputs, test appropriate raster operations and connect evaluated results to a project-aware GIS workflow. The existence of a general tool does not guarantee that every specialist retrieval described here is available as a ready-made operation. Check the documentation and, where necessary, bring independently processed and evaluated products into the project with their provenance intact. A practical next step is to test the workflow on a representative area, review the evidence with domain specialists and choose the workspace plan that fits the team’s real storage, collaboration and processing needs.